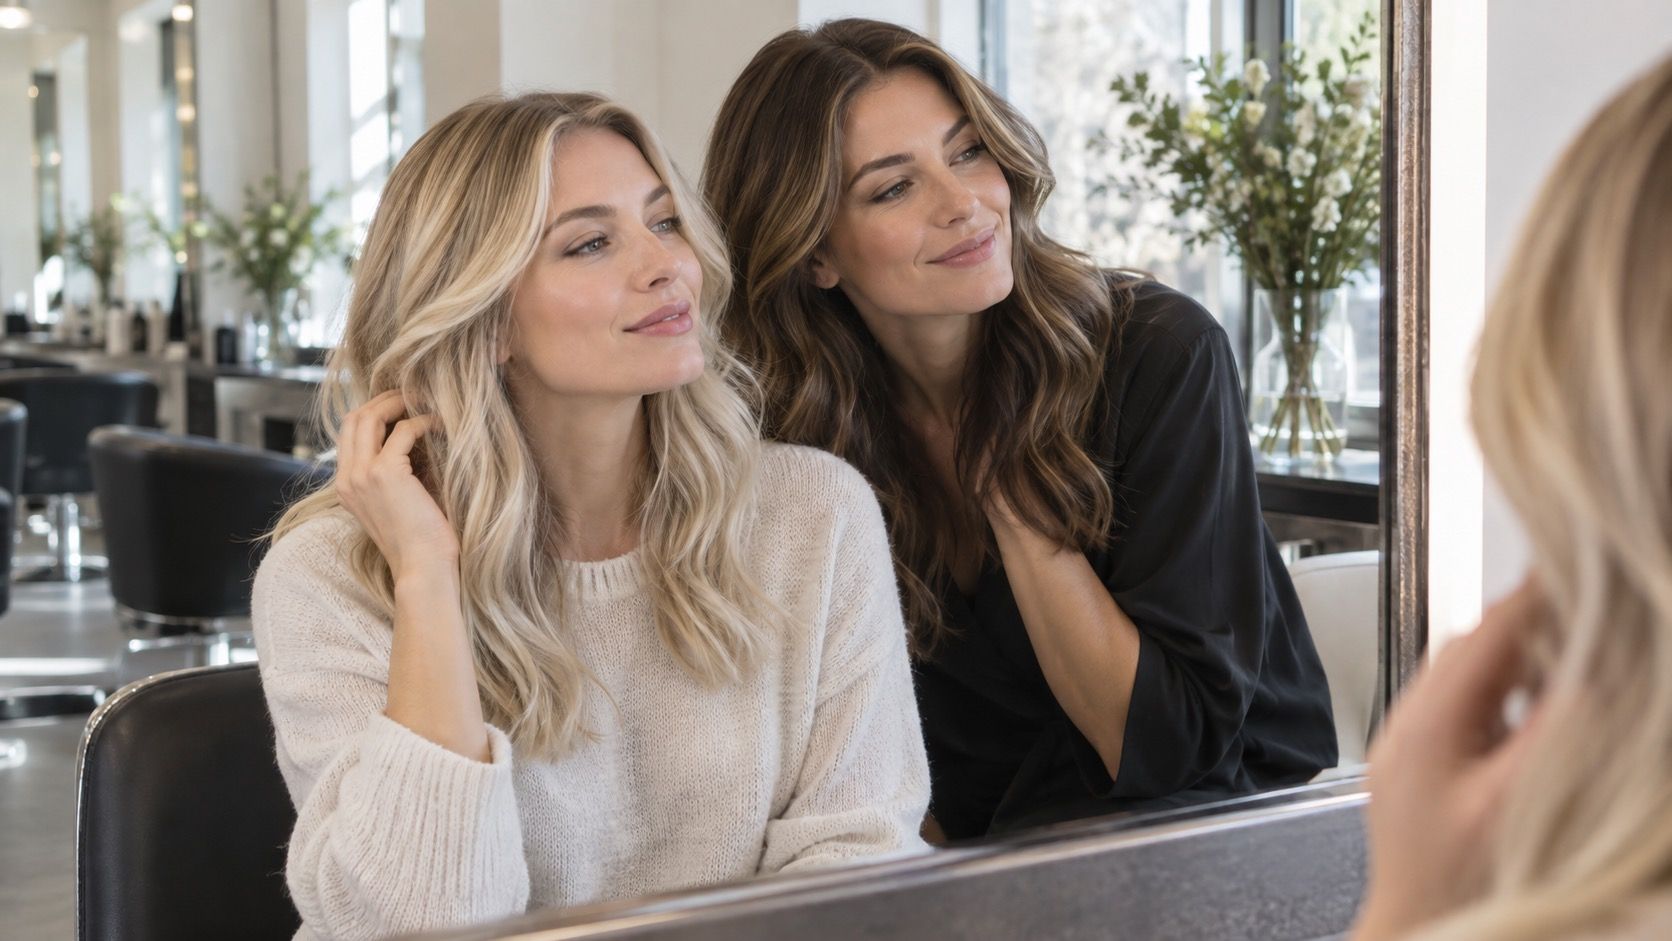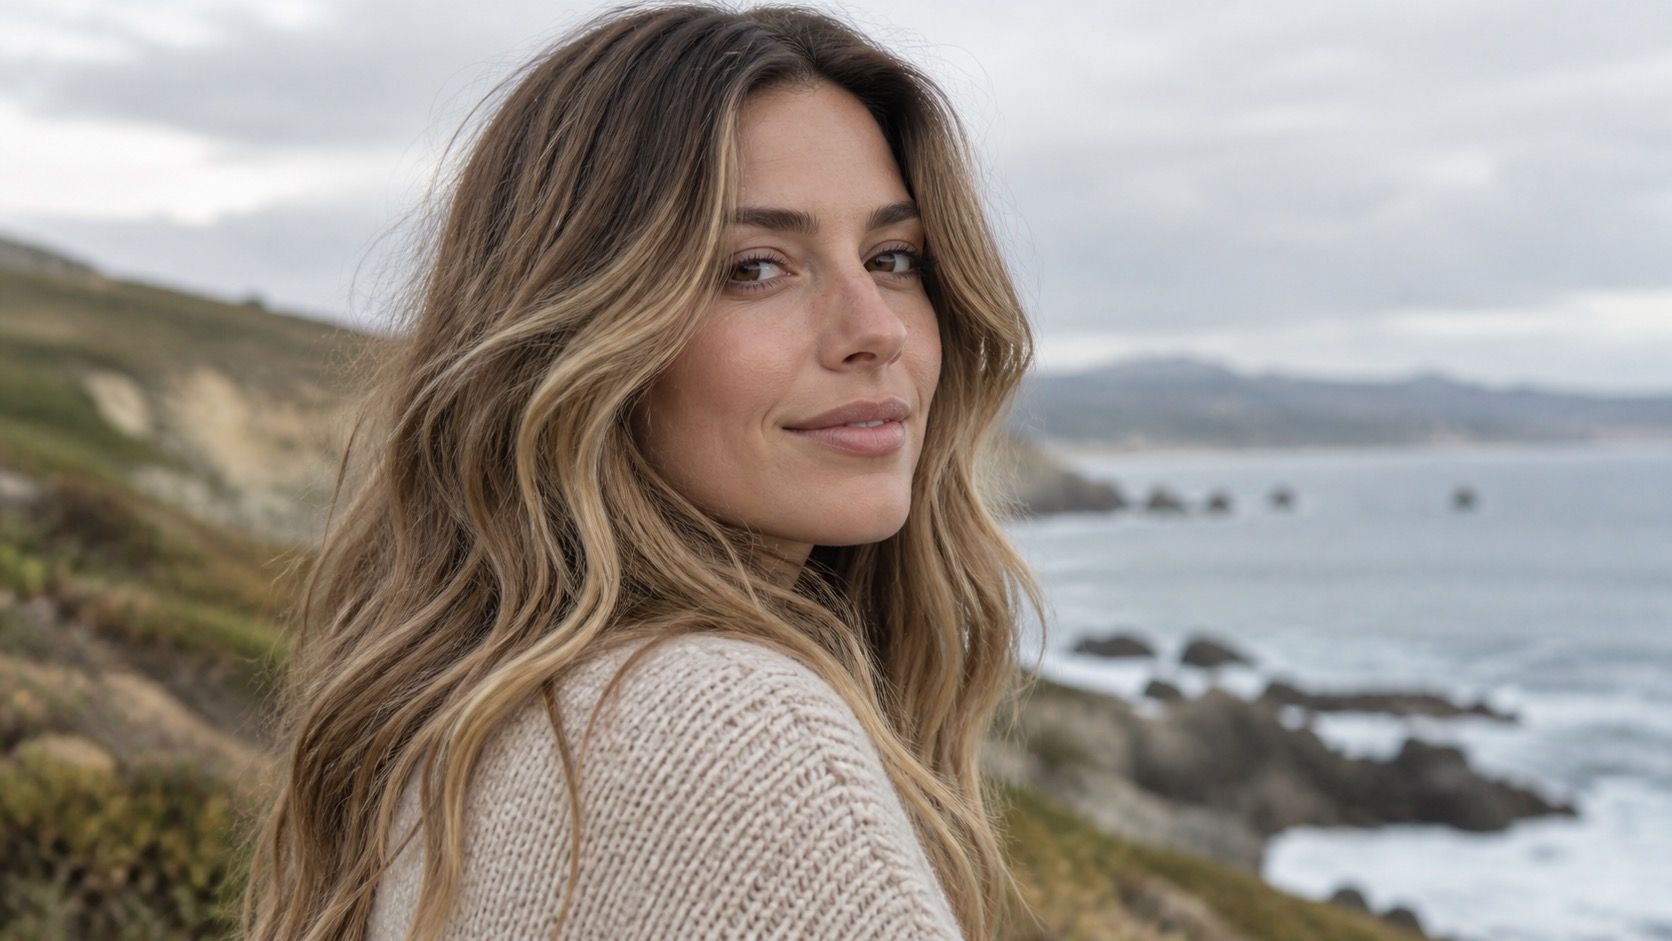
A hair color try-on is most useful when it helps you choose a change you will still enjoy after the salon gloss fades and the roots return. The dramatic preview is easy to love for thirty seconds. The more valuable one shows whether a shade can live with your natural base, your haircut, and the gap between appointments you can realistically manage.
Use a try-on to compare the return of your roots, not just the finished photo
Open a virtual hair color try on free tool with a recent, unfiltered picture and begin with your real root area visible. A photo with the hair swept over one shoulder may be pretty, but it hides the exact line that determines maintenance. Pull the part where you normally wear it, stand in daylight if possible, and avoid a portrait mode that smooths the hairline into blur.
Then compare two versions of a color: one that starts right at the scalp and one with a slightly deeper root shadow. The second image can look less dramatic on a small phone screen, yet it often answers the practical question better. A bright blonde from root to ends creates a strong, clean effect; a lived-in blonde with a soft root can make the first centimeter of regrowth much less obvious. That is the difference between admiring a result and scheduling life around it.
I also test the image at normal viewing size. Zoomed-in previews flatter every highlight because you are inspecting the hair, not the whole face. Set the phone down, come back a few minutes later, and ask whether the color reads deliberate from arm’s length. If the first thing you notice is a harsh root contrast, do not assume it will become less visible after several weeks.
Choose changes that grow out quietly at your natural base
The simplest low-maintenance route is usually a shade close to the natural base with movement added through the lengths. Balayage, lowlights, a translucent gloss, and subtle ribbons around the face can change the overall impression without making every new root look like an emergency. The exact technique matters less than the transition: look for softness at the scalp and a believable blend between the darkest and lightest pieces.
For someone with medium brown roots, a beige bronde or soft caramel placed through the mid-lengths often grows out more quietly than an all-over pale blonde. For naturally dark hair, espresso lowlights or a warm brown gloss can add depth without the crisp maintenance line of solid black dye. On naturally light brown hair, a muted strawberry or honey gloss may give warmth while fading gradually. These are not guarantees; previous bleach, porosity, and gray coverage can change the behavior. They are sensible directions to test first.
| Color direction | Why regrowth is easier | Reality check before booking |
|---|---|---|
| Soft balayage | Brightness begins away from the scalp, so the root line is less sharp. | Ask how bright the face frame will be; very pale front pieces can still need frequent refreshing. |
| Gloss near natural depth | It enhances tone rather than creating a large level change at the roots. | Expect tone to fade; decide whether you like the color as it softens. |
| Lowlights and dimension | Deeper pieces reconnect lightened hair to the natural base. | Check the result in daylight so the lowlights do not look muddy. |
| Gray blending | Fine variation can make new silver hairs less obvious than a solid opaque shade. | Bring a photo of your real gray pattern, since temples and part lines behave differently. |
The maintenance trap is often a large jump in depth rather than a particular named trend. Going from a level-five brown to a very light blonde asks for a different commitment than adding soft beige lights to that same brown. A virtual preview cannot tell you how long lightening will take, but it can make the contrast visible before you fall in love with the most edited inspiration photo.
Decide whether a face frame is worth its extra attention
Face-framing color gives a big visible shift with relatively little hair colored, which makes it a tempting compromise. In a try-on, test it separately from the rest of the length. A narrow, two-level-lighter ribbon can make eyes look brighter and give a haircut shape. A very wide or pale block can pull attention to regrowth at the temples, especially with a center part or hair tucked behind the ears.
There is a useful middle ground: keep the brightest point a little off the scalp, let it melt into a root shadow, and choose a tone close to the rest of the highlights. On a warm brunette, that might be a soft toffee rather than pale yellow. On a cool dark blonde, beige or mushroom brightness often looks less stripey than silver. View the test photo in side profile too; the front can look balanced head-on while the contrast becomes obvious around the ear.
Think about your actual styling habits. If you wear a high bun for work, the hairline and nape will be on display more than in a loose blowout. If you air-dry curly hair, individual bright pieces may disappear into the pattern and need a little more contrast to show. A good low-maintenance plan is not the same for every haircut, which is why a preview should use your own current length and part whenever possible.
Estimate upkeep from the gap between your natural base and the new shade
Before settling on a color, compare the root swatch and proposed base in the try-on. A one- or two-level difference usually looks softer as it grows than a four-level leap, though texture and gray coverage complicate the picture. The useful question is not “How often should everyone refresh this?” It is “At what point will I personally see the regrowth and stop liking it?” Some people accept a soft blend for months; others notice the part line after a few weeks.
Build the decision around an appointment interval you can keep. If you only want color appointments a few times a year, avoid any look that depends on a crisp, light root or a saturated fashion shade staying exact. If regular gloss appointments suit your routine but full lightening does not, ask for a durable base with an adjustable toner. A colorist can explain where the work belongs: root retouch, toner, lowlights, or a small face-frame refresh.
Gray blending deserves its own check. A uniform opaque color may cover gray strongly on day one, yet the contrast at the part can return sharply. Fine highlights, lowlights, or a softer formula can make the transition less conspicuous, but they will not produce the identical block of coverage that some people want. A preview helps you choose the visual direction; a consultation should decide which result is feasible on your existing color.
Make a reference set that shows the colorist what you mean
Save three try-on images instead of one final fantasy image. Keep a conservative option close to your natural base, a preferred option, and a bolder version. Add one daylight photo of your current hair from the front and one from the side. This small set gives useful context: it shows the desired brightness, the amount of warmth you can live with, and the maximum contrast that still feels like you.
When you sit in the salon chair, point out specifics rather than relying on labels. “I like the softness at this root,” “I want this brightness around the eyes but not a solid stripe,” and “I prefer this neutral brown over the orange version” are clear requests. Names such as bronde, caramel, or mushroom can mean different things in different photos, particularly under warm studio lighting.
Bring up your history too: box dye, henna, dark permanent color, previous bleach, and how recently each was used. It is not a confession; it changes what can be achieved safely and how a new tone may fade. The colorist may suggest a slower route or a strand test. That is usually a sign that the plan is being adjusted to real hair rather than copied from a filtered image.
Make the final choice after the novelty wears off
The best low-maintenance hair color does not always win the first comparison. Give the previews a day, view them on another screen, and look once in ordinary indoor light. The shade that looked slightly less exciting can become the obvious choice when you imagine it with a plain T-shirt, no makeup, and half an inch of natural root showing.
Use hair color analysis as a final filter: does the warmth or ashiness make the skin look clearer, and does the depth fit your brows and eyes? Then choose the version that leaves the smallest awkward gap between the look you want and the upkeep you can maintain. That modest calculation is what turns a virtual try-on from a game into a useful appointment tool.