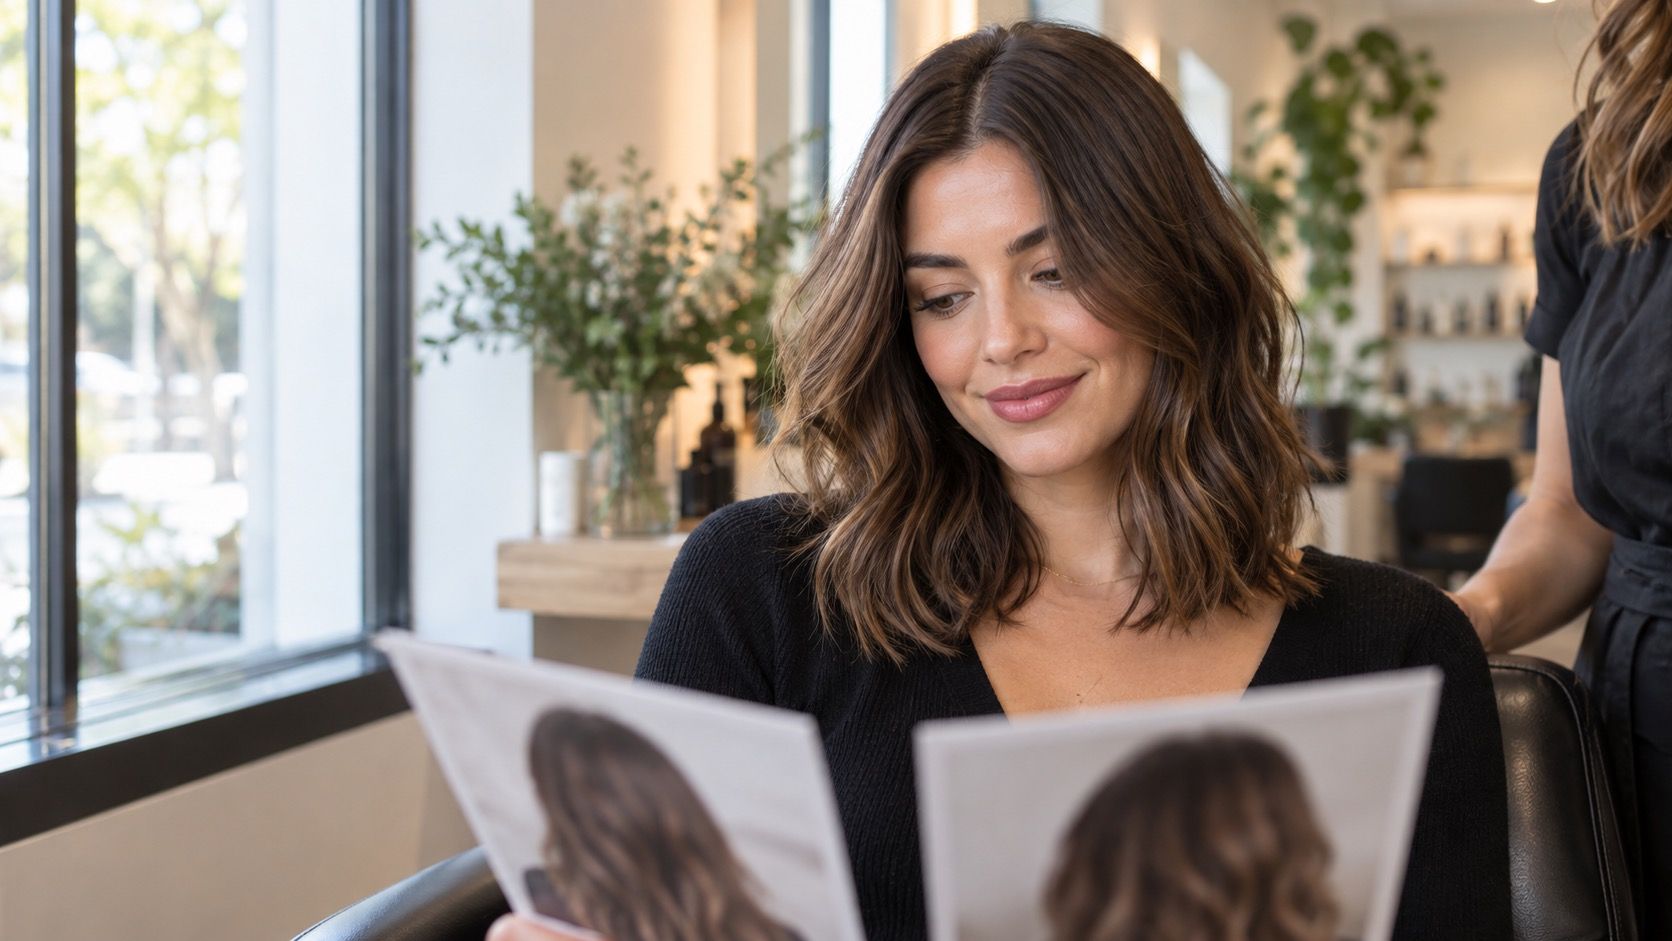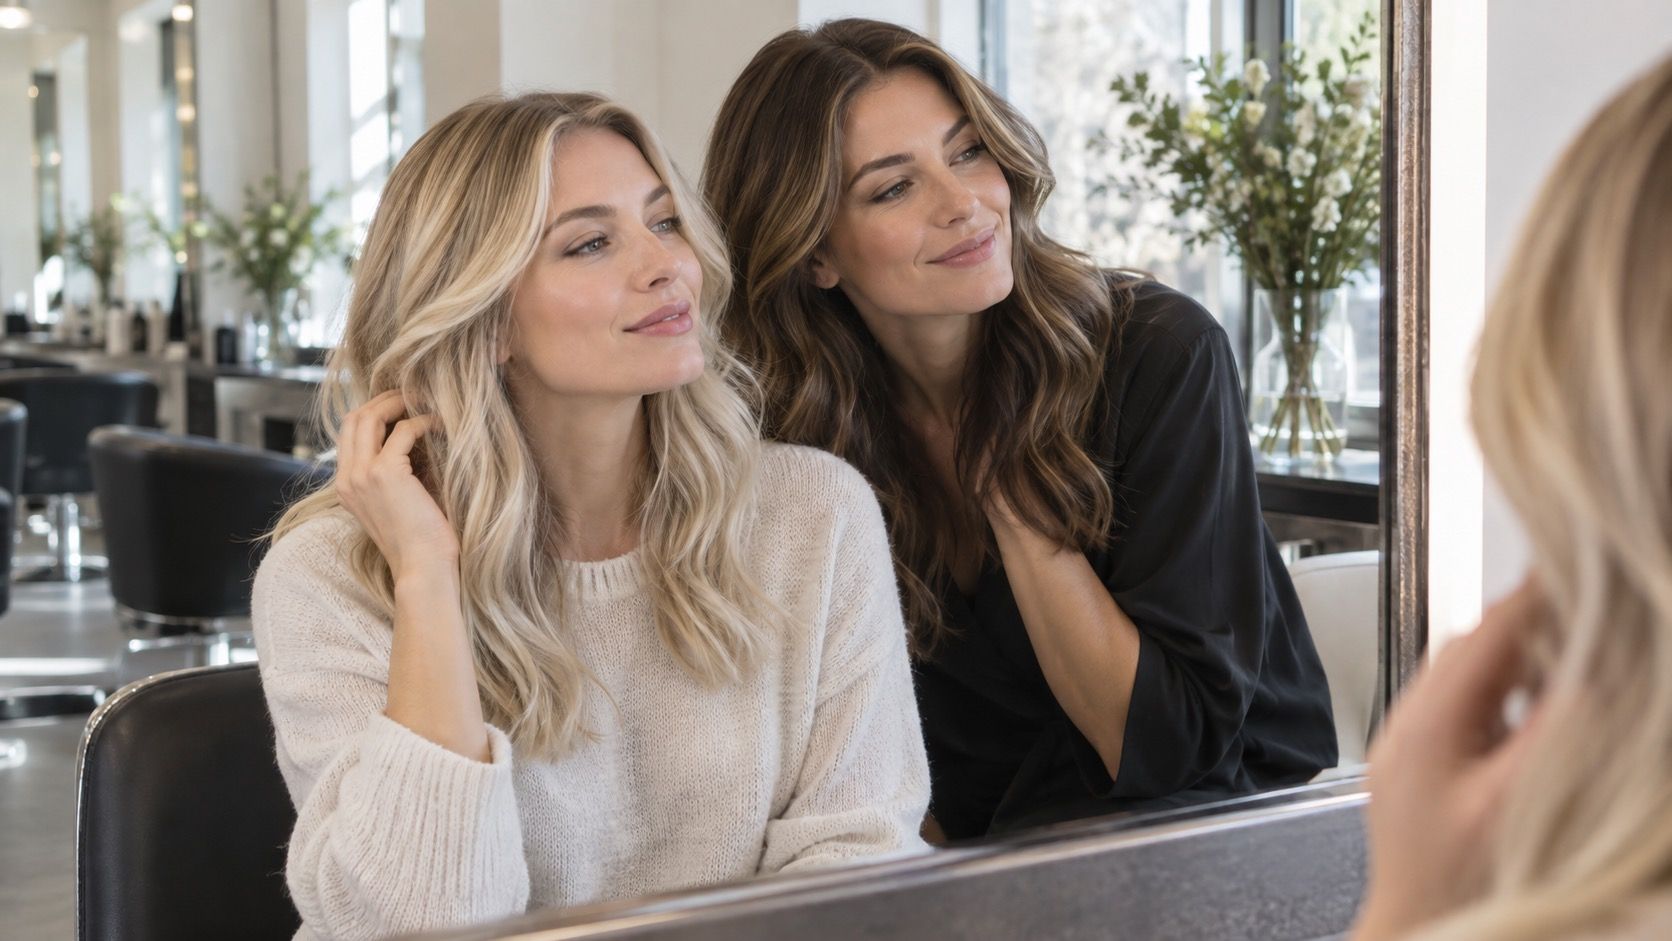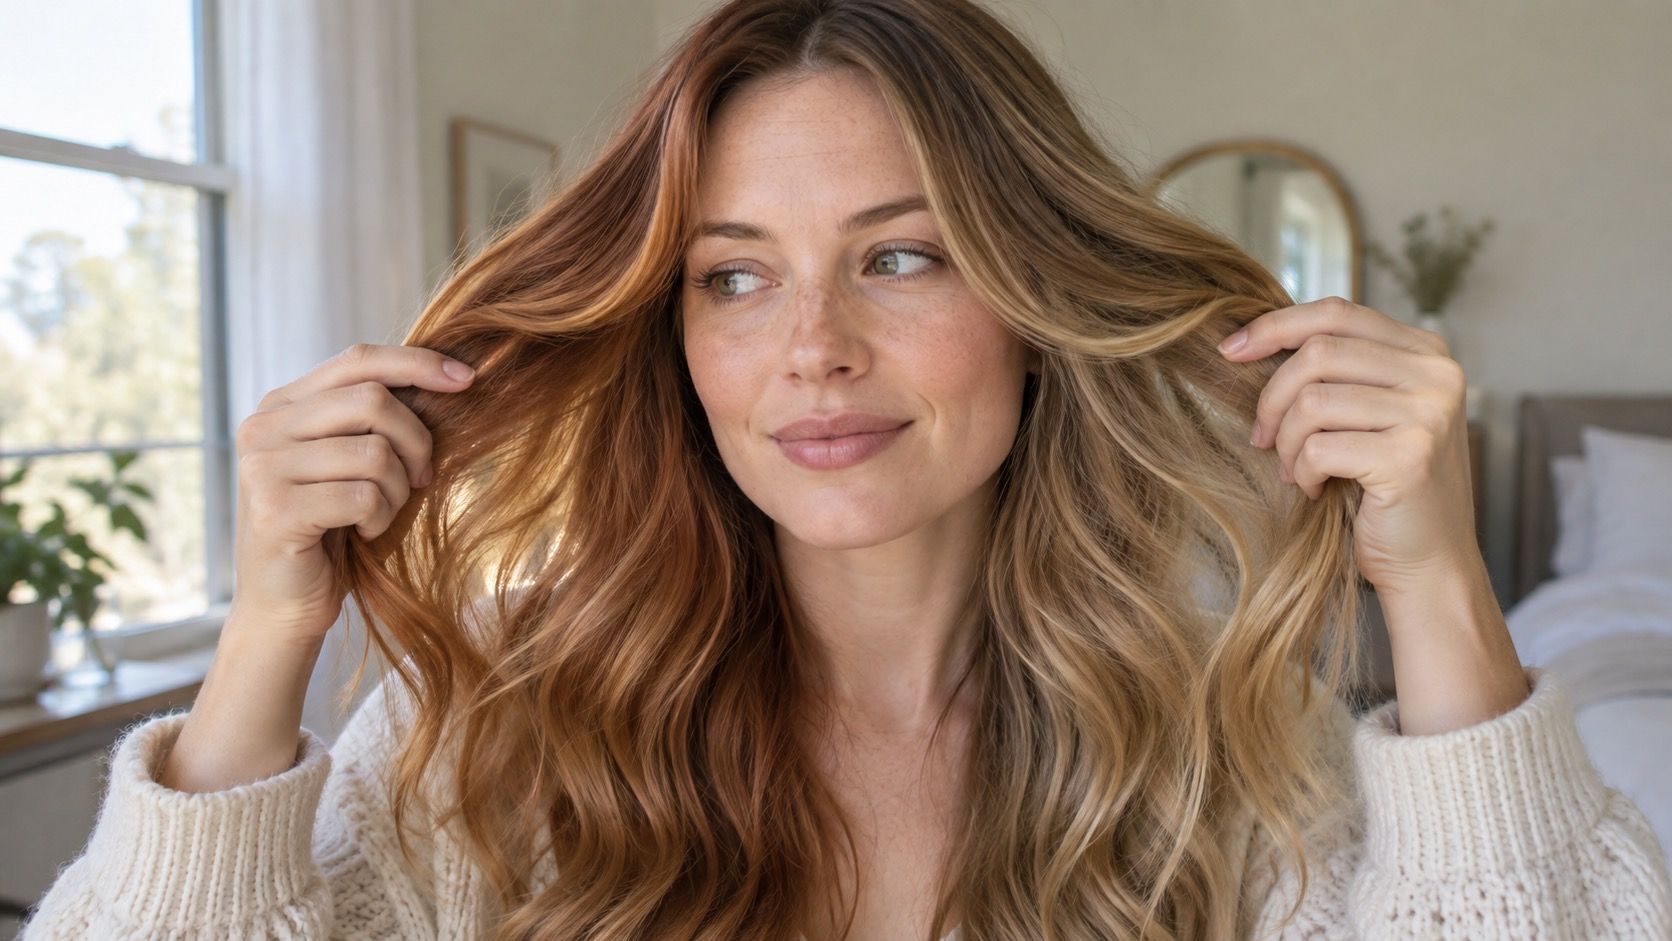
A free virtual hair color try-on is most useful when you treat it like a fitting-room mirror, not a promise from a dye box. It can quickly show whether a change in depth or warmth makes your face more vivid, and it can prevent a few obviously wrong choices. It cannot predict bleach, toner, old color, or how the shade will fade. The difference between a helpful preview and a misleading one usually starts with the photo you upload.
Choose a photo that does not quietly change the shade
Use a recent, front-facing picture taken in indirect daylight. Face a window rather than standing with it behind you, and avoid direct sun that creates bright stripes in the hair. A cloudy morning or a spot a few feet inside from the window is usually kinder than the bathroom mirror. Keep the phone at eye level and leave a little space around the head, so the tool can find the hairline, temples, and shoulders without inventing a strange outline.
Turn off portrait mode, beauty filters, smoothing, and automatic “vivid” color if you can. They may make the selfie more flattering, but they also alter skin warmth and erase the flyaways that define a realistic hair edge. Camera white balance is another quiet troublemaker: a yellow kitchen light can make a neutral brown appear honey-gold, while a cool office light may sell you an ash shade that looks flat outdoors. If your photo feels unusually blue or orange, take another one rather than correcting it by eye.
Wear a simple white, gray, or muted top and remove strongly tinted sunglasses. Bright red lipstick, a green sweater, or a ring light can reflect onto the lower face and skew the comparison. You are not making a passport photo; you are giving the virtual try-on a clean reference. A slightly boring selfie is often the best raw material for a hair color preview.
Set up the preview before you change a single shade
Look closely at the generated hair mask before selecting blonde, brunette, or copper. The edge should follow your part, ears, fringe, and loose pieces reasonably well. If the mask swallows half an eyebrow, paints over your jaw, or creates a blunt helmet around fine hair, the color result will be hard to trust. Re-uploading a clearer picture takes less time than interpreting an unreal result for twenty minutes.
Start from a shade close to your current hair. That gives you a control image and exposes whether the app tends to make your face warmer, smoother, or more contrasty. Then change one variable at a time. Try medium neutral brown, medium cool brown, and medium warm brown before jumping directly to black, platinum, or red. The useful signal is often small: perhaps a beige tone makes the under-eye area look calmer, while a golden version pulls attention to redness.
Keep exposure stable while you compare. If an app has a brightness slider, leave it alone until you have chosen a color family. Altering exposure at the same time as the shade makes a bright blonde look healthier simply because the whole image became lighter. For the same reason, do not compare a generated studio-style picture with an unedited daylight selfie. A virtual hair colour try on only makes sense when the inputs are comparable.
Compare nearby shades instead of chasing the biggest transformation
The dramatic before-and-after is tempting, especially when a digital platinum or cherry red is one tap away. But the best first use of a virtual hair color try on is narrowing a family of plausible shades. If your root is medium brown, compare chocolate, neutral mocha, mushroom brown, and a soft caramel dimension. If you are already blonde, try beige, cool pearl, honey, and a slightly darker rooted blonde. These small steps reveal what your skin and features can carry.
Save every candidate in the same crop and view the set as thumbnails. At that size, the question becomes clear: do you see the person first, or only the hair? A convincing color usually makes the eyes, brows, and mouth remain readable. A bad match can still look exciting at full size, but it may flatten the face or make the hairline look pasted on when reduced. Ask a friend only after you have made this initial sort; otherwise they may react to the novelty rather than the fit.
| Preview comparison | What to look for | Useful conclusion |
|---|---|---|
| Neutral brown vs warm brown | Does warmth brighten the face or make it look yellow? | Choose a warmer or more neutral gloss direction |
| Beige blonde vs pale ash | Do eyes remain visible without heavy makeup? | Check whether extreme coolness is too flat |
| Soft copper vs vivid red | Does the color frame the face or overpower it? | Decide how much saturation feels wearable |
| Close-to-root vs much lighter | Does the root line look intentional? | Plan for a root melt, highlights, or lower upkeep |
Inspect roots, highlights, and hairline limits before believing the image
Most free tools apply one broad color over the visible hair. Real hair rarely behaves that way. Natural roots can be darker than lengths, fine highlights catch light differently, and porous ends may absorb toner faster. Zoom in around the part and the front hairline. If the preview shows one solid sheet of color where you actually have highlights, it is telling you about the overall direction, not the finished technique.
Pay attention to where the digital shade starts. A full light blonde preview might look lovely until you imagine the same color against your dark natural root after four weeks. In that case, the image may still be valuable: it says you like brightness near the face, not necessarily all-over bleaching. Save it alongside a version with a deeper root or softer face framing. Those two references can lead to a far more realistic salon discussion.
Texture matters too. Curly, wavy, and very fine hair reflect light differently from a smooth, straight hair mask. A copper can appear richer in a tight curl pattern; an ash shade can look more silvery on straight hair under even light. If you usually wear your hair textured, upload a photo that shows it. Do not choose a high-maintenance finish based only on a sleek selfie you never recreate at home.
Use the preview to make salon notes, not a chemical prediction
A preview cannot see prior box dye, mineral buildup, gray percentage, previous bleach, or the condition of the mid-lengths. It does not know whether a colorist will need one appointment or a gradual correction. Avoid telling a stylist that the app “proved” a result will work. Instead, bring the saved comparisons and explain what you respond to in each: “I like the neutral depth here,” “I want brightness near my cheekbones,” or “I do not want this much gold.”
Write down your natural root, the color history you remember, and how often you would realistically return for a refresh. A high-lift blonde, a vivid red, and a cool ash can all be beautiful, but they ask different things of your calendar and hair care routine. If your goal is lower maintenance, ask about dimensional color, a root shadow, or a gloss that can fade softly. If your goal is a noticeable change, ask what can be achieved safely in one session and what needs a staged plan.
It helps to include one “no” image. Maybe the darkest brunette makes your features too severe, or the brightest copper feels costume-like. A clear boundary is practical information for a colorist. It reduces the chance that “warm” becomes orange or “bright” becomes a solid block of pale blonde.
Do a normal-life check before you decide
Open the saved comparisons on another day, at ordinary screen brightness, and look at them beside the clothes you wear most. Try a black top, a cream knit, denim, and whatever color you reach for at work. Some shades look perfect against a white digital background but clash with your actual wardrobe. Others look understated in an app and become exactly right once you picture them in daylight on a normal Tuesday.
Make a final set of three: the safe choice, the slightly bolder choice, and the version that captures your favorite detail. Then take those to a consultation. That is the sensible promise of a virtual hair color try on free tool: not certainty, but a better vocabulary, fewer impulsive choices, and a more honest starting point for the person who will work with your real hair.